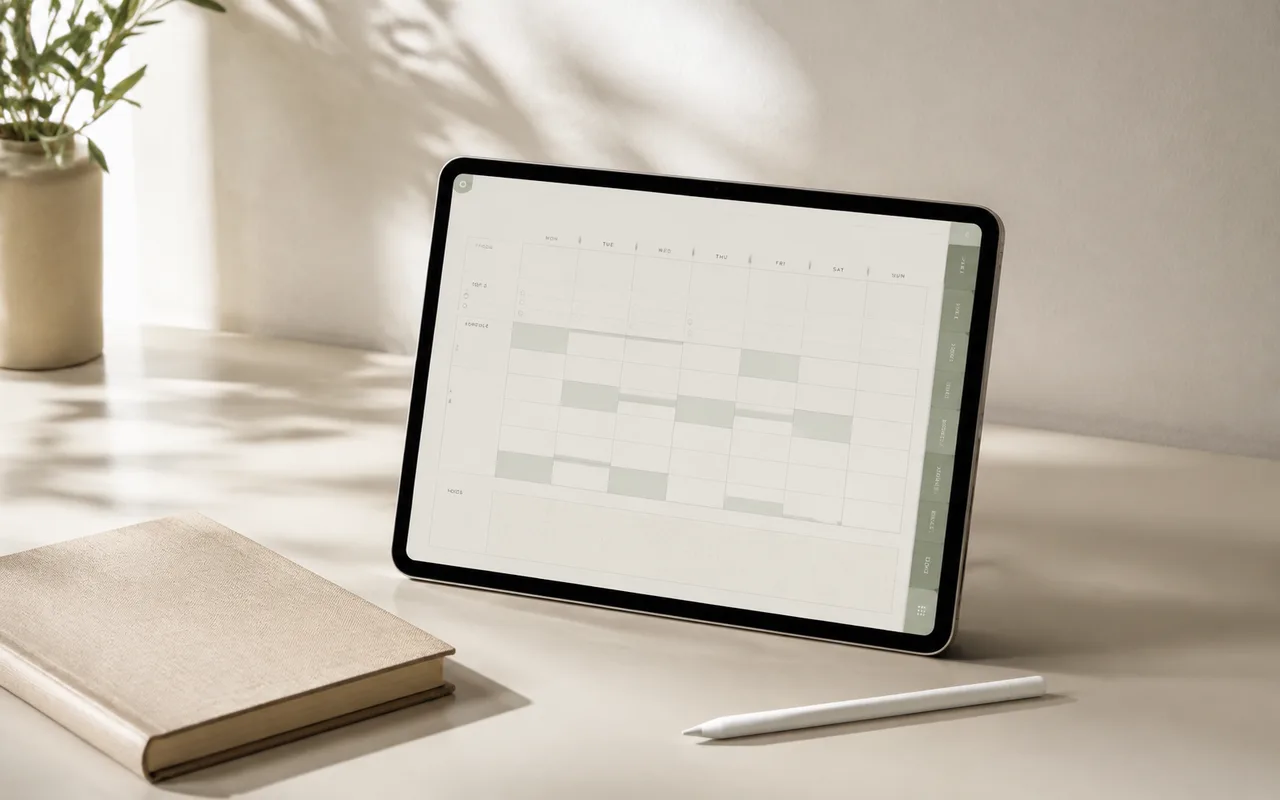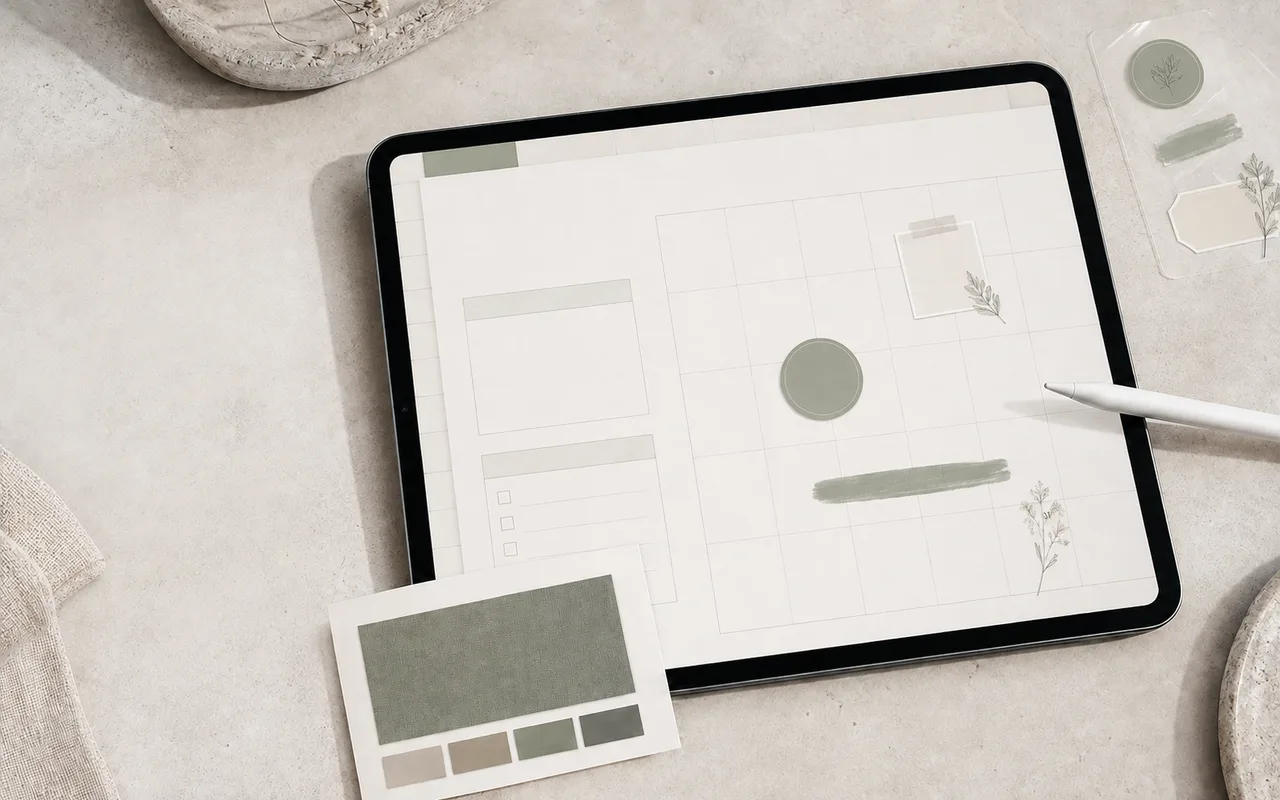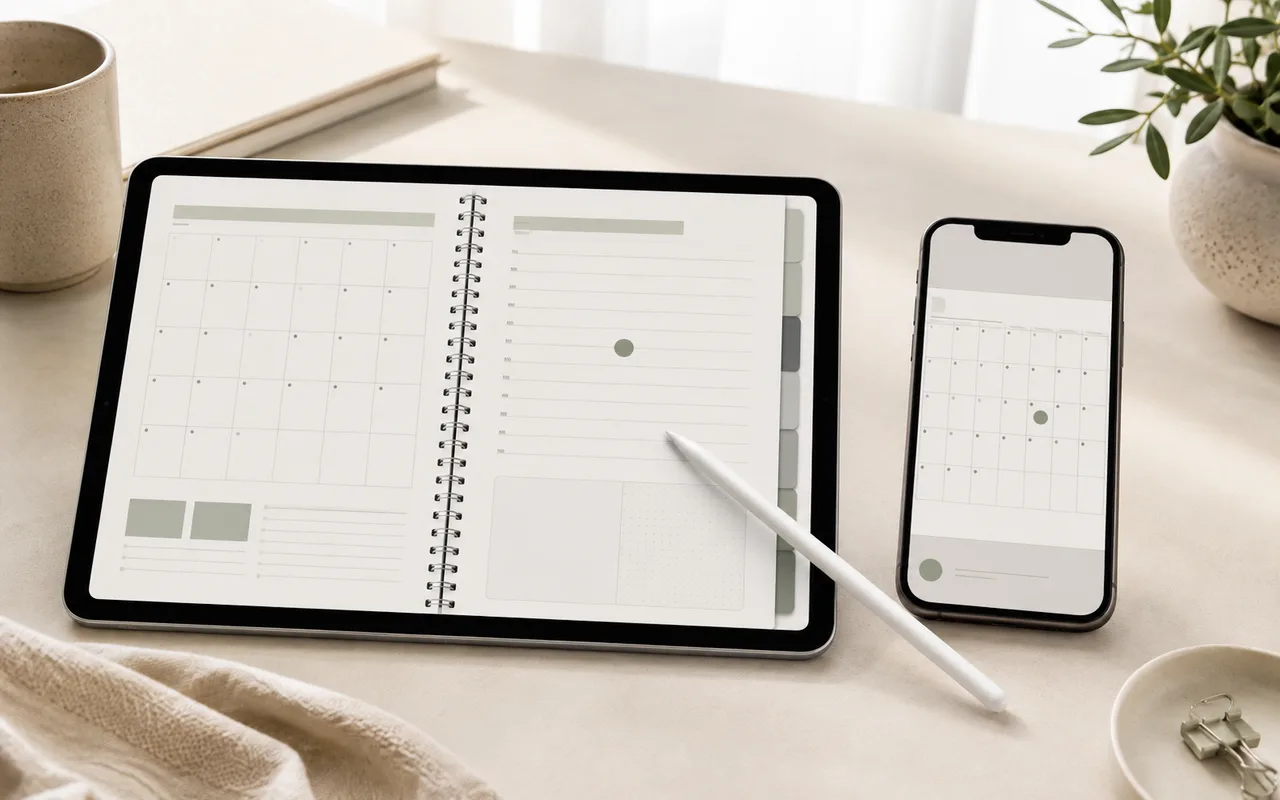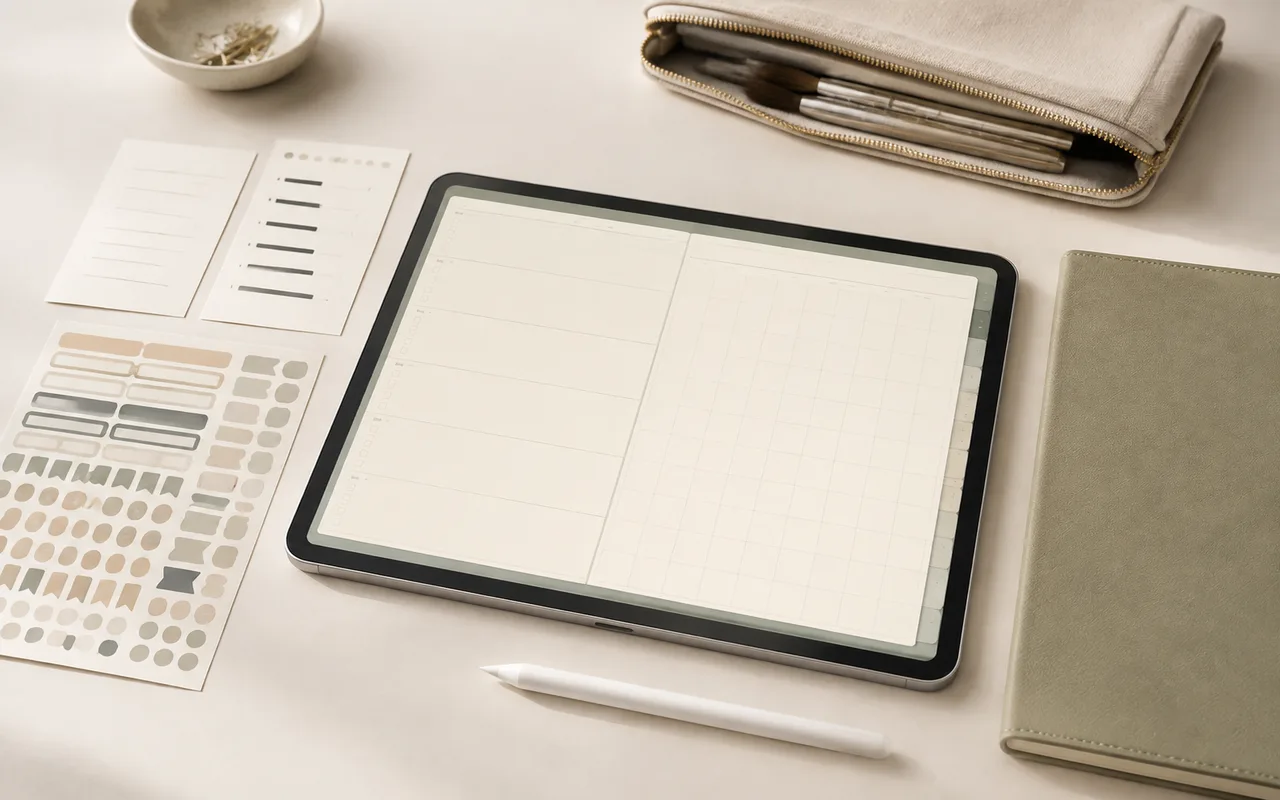
Qualquer coisa relacionada a planejamento digital ou anotações que não seja um modelo de planner ou pacote de páginas pertence à biblioteca de recursos. Isso inclui fontes, pincéis, pacotes de adesivos, capas, folhas de prática e a surpresa extra ocasional.
Step 1
Baixar e descompactar recursos
Após a compra, abra sua conta, encontre o pedido e use o botão Download ao lado dele. O método de entrega depende do tamanho e do formato do recurso.
- Download direto: toque em Download e salve o arquivo no seu dispositivo.
- Download do Cloud-drive: recursos maiores podem abrir em um drive de terceiros para que você possa salvar uma cópia e fazer o download a partir de lá.
Step 2
Instalar fontes no iPhone e iPad
Instalar uma fonte aqui significa torná-la disponível em aplicativos que suportam fontes personalizadas, como o Goodnotes. Isso não substitui a fonte do sistema usada por todo o dispositivo.
Os sistemas operacionais móveis da Apple exigem um gerenciador de fontes para criar e instalar um perfil de configuração. O iFont é completo, mas agora é baseado em assinatura, com um teste gratuito de três dias. O Fontcase é uma alternativa gratuita e simples, embora alguns usuários possam encontrar erros de instalação.
- Baixe um gerenciador de fontes como iFont ou Fontcase na App Store.
- No gerenciador de fontes, importe a fonte baixada de Arquivos e toque em Instalar.
- Quando o Safari ou o aplicativo disser que o localhost deseja baixar um perfil de configuração, toque em Permitir.
- Abra Ajustes e selecione Perfil Baixado, ou vá em Geral > VPN e Gerenciamento de Dispositivos. Abra o perfil da fonte, toque em Instalar e digite a senha do dispositivo.
Step 3
Instale fontes no Android e em computadores
No Android, as fontes geralmente são importadas diretamente no aplicativo onde você planeja usá-las. Em um computador, a instalação usa o instalador de fontes integrado do sistema operacional.
- No Android: adicione uma caixa de texto no seu aplicativo de anotações, abra o menu de fontes, escolha Importar Fonte e selecione o arquivo de fonte extraído.
- Android: se a fonte chegou como um arquivo ZIP, extraia-a antes de importar.
- Computador: extraia o arquivo baixado, depois clique duas vezes no arquivo da fonte e escolha Instalar.
- No seu aplicativo de anotações, selecione uma caixa de texto e escolha a fonte instalada. Aplicativos com reconhecimento de escrita manual também podem converter a escrita dentro de uma caixa de texto em texto digitado.
Step 4
Use um livro de adesivos Goodnotes
Um livro de adesivos do Goodnotes é um caderno completo contendo adesivos organizados e pré-cortados. Ele é importado para o Goodnotes como um caderno, e não para a ferramenta de adesivos integrada.
Os livros de adesivos normalmente incluem uma capa, índice e links internos. Manter cada tema em seu próprio livro facilita a visualização e a localização dos materiais individuais.
- Baixe o livro de adesivos, escolha Abrir no Goodnotes, ou salve-o localmente e importe-o de dentro do Goodnotes.
- Arraste entre janelas: abra o planner e o livro de adesivos lado a lado, selecione a ferramenta laço ou de imagem, levante o adesivo com uma pressão e segure, e arraste-o para o planner.
- Copiar e colar: selecione um adesivo com a ferramenta laço ou imagem, escolha Copiar, depois pressione e segure na página do planner e escolha Colar.
Step 5
Use folhas de prática de caligrafia
As folhas de prática podem ajudar você a desenvolver uma caligrafia mais firme em um tablet. Se a escrita digital é nova para você, comece com exercícios simples de controle da caneta antes de passar para fichas completas de letras.
Os arquivos de prática geralmente vêm como PDFs e também podem incluir páginas JPG. Importe o formato que preferir usando a ação Novo ou Importar do seu aplicativo de anotações.
- Se tanto a sua caneta stylus quanto o aplicativo suportarem sensibilidade à pressão, ajuste as configurações de pressão para criar diferentes estilos de lettering.
- No Goodnotes, a caneta tinteiro funciona bem para escrita diária, enquanto a caneta pincel mais sensível à pressão é mais adequada para lettering com pincel.
- O Notability oferece um traço semelhante a pincel de caneta com sensibilidade à pressão padrão, mas não fornece os mesmos controles de ponta e pressão.
- Se uma tela lisa ainda parecer desconhecida, um protetor de tela com textura de papel ou uma ponta de stylus de reposição pode tornar a escrita mais parecida com o papel.
Antes de terminar