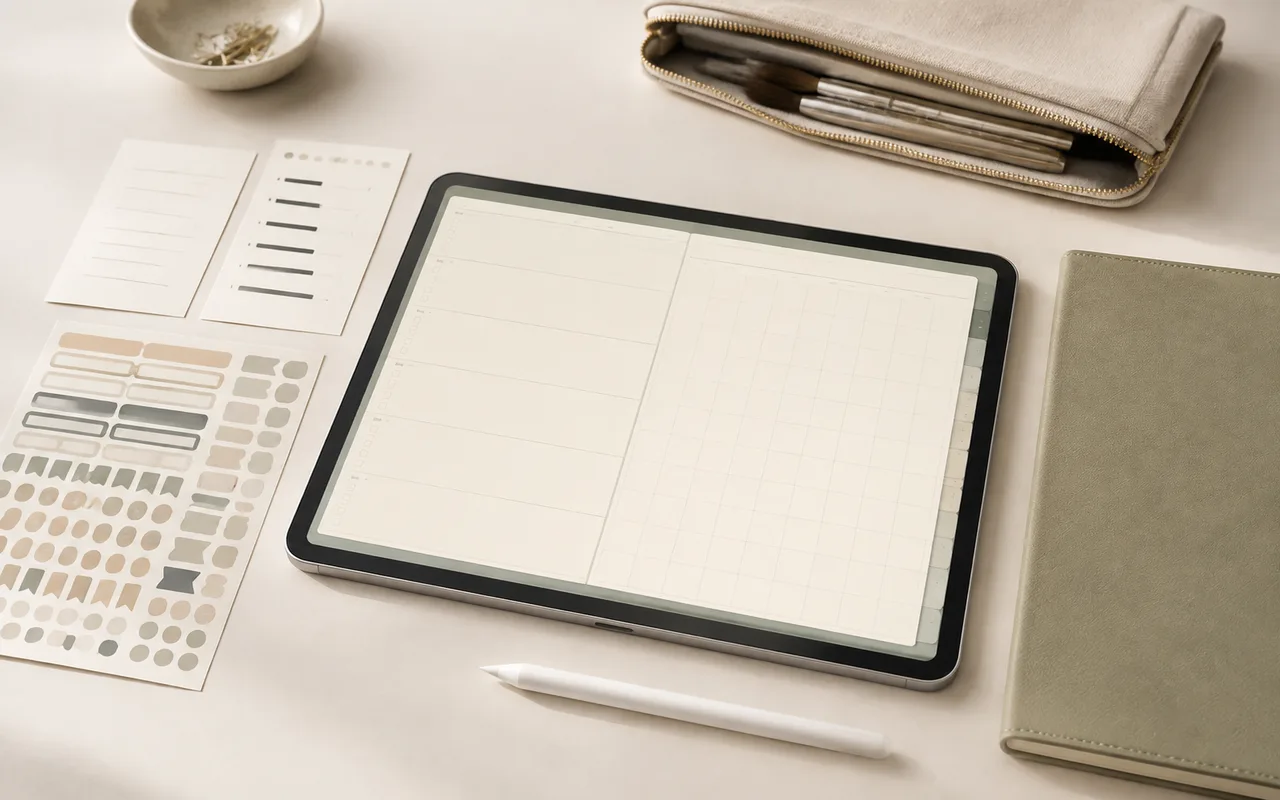
O primeiro passo em direção a uma vida sem papel muitas vezes começa com um planejador digital que ainda parece pessoal. Aprenda as regras compartilhadas por trás de importar, escrever, navegar, gerenciar páginas e salvar seu trabalho, e você se sentirá em casa em quase qualquer aplicativo de planejamento digital.
Step 1
Importe o documento: prepare sua tela
Baixe o PDF do planner para uma pasta local no seu dispositivo e, em seguida, importe-o para o seu aplicativo de escrita à mão ou de anotações.
- Baixe o modelo de planejador e salve o PDF em uma pasta local que você possa encontrar novamente.
- Abra o PDF baixado, toque em Compartilhar e escolha seu aplicativo de escrita à mão.
- Alternativamente, abra o aplicativo de anotações, toque em Importar ou no botão de mais e selecione o PDF que você acabou de baixar.
Step 2
Aprenda o conjunto de ferramentas essenciais
Abra o planner no seu aplicativo de escrita à mão. A barra de ferramentas, geralmente no topo da tela, é onde ocorre a maior parte da interação; alguns aplicativos também permitem movê-la ou escolher quais ferramentas aparecem.
- Ferramentas de escrita: use canetas, canetas esferográficas, marcadores, lápis e a borracha. Guarde algumas larguras e cores úteis, como uma caneta preta fina para anotações e uma caneta colorida mais larga para títulos.
- Ferramenta de texto: crie uma caixa de texto em qualquer lugar da página quando precisar de passagens mais longas ou de uma tipografia muito organizada. Fontes personalizadas podem tornar isso ainda mais útil.
- Ferramenta de formas: transforme círculos, retângulos e linhas brutos em formas geométricas limpas para caixas de seleção, chamadas e divisores.
- Ferramenta Laço: circule escritas ou desenhos à mão para movê-los, redimensioná-los ou recolorí-los. Em aplicativos como o Goodnotes, verifique quais tipos de objeto o laço pode selecionar se parecer não funcionar.
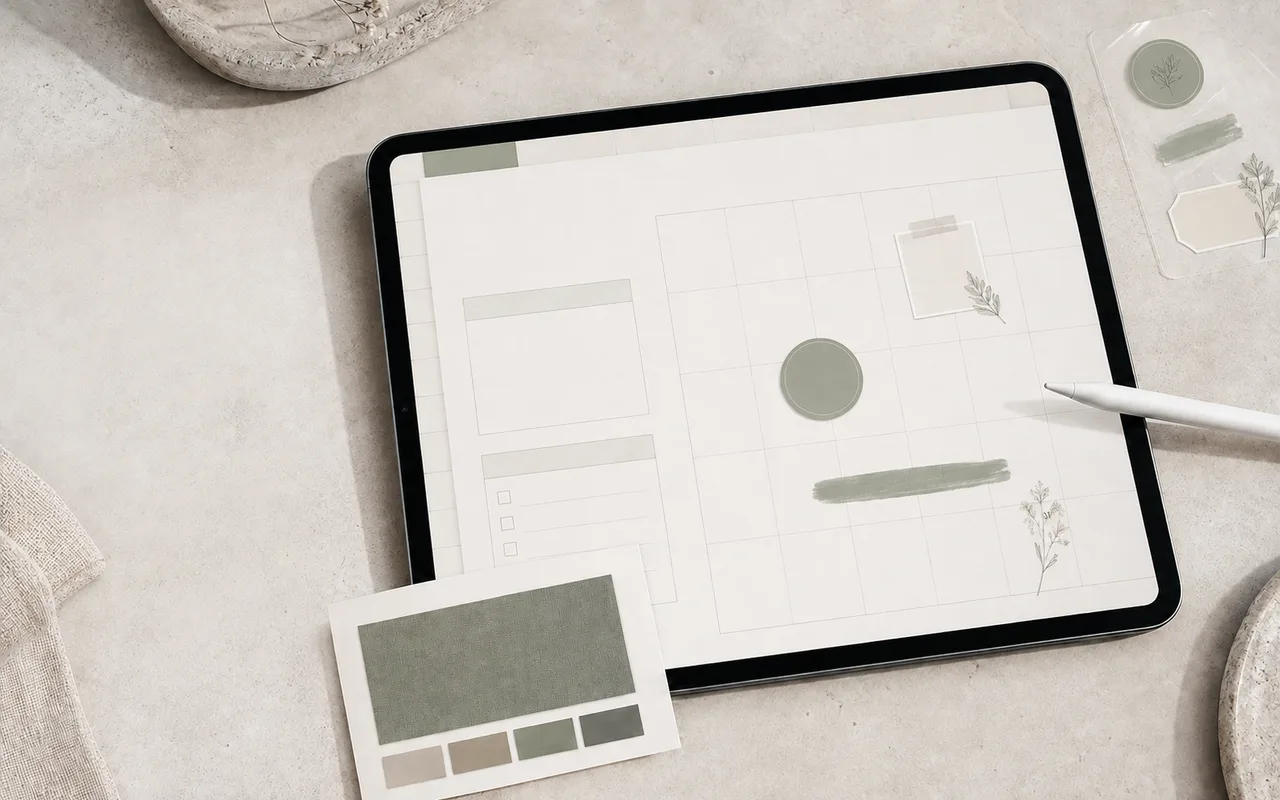
- Imagens e adesivos: insira arquivos das Fotos ou da sua biblioteca de arquivos e depois recorte, copie, cole ou corte-os. Alguns apps também oferecem ferramentas de adesivos e fita decorativa.
Step 3
Siga os hiperlinks
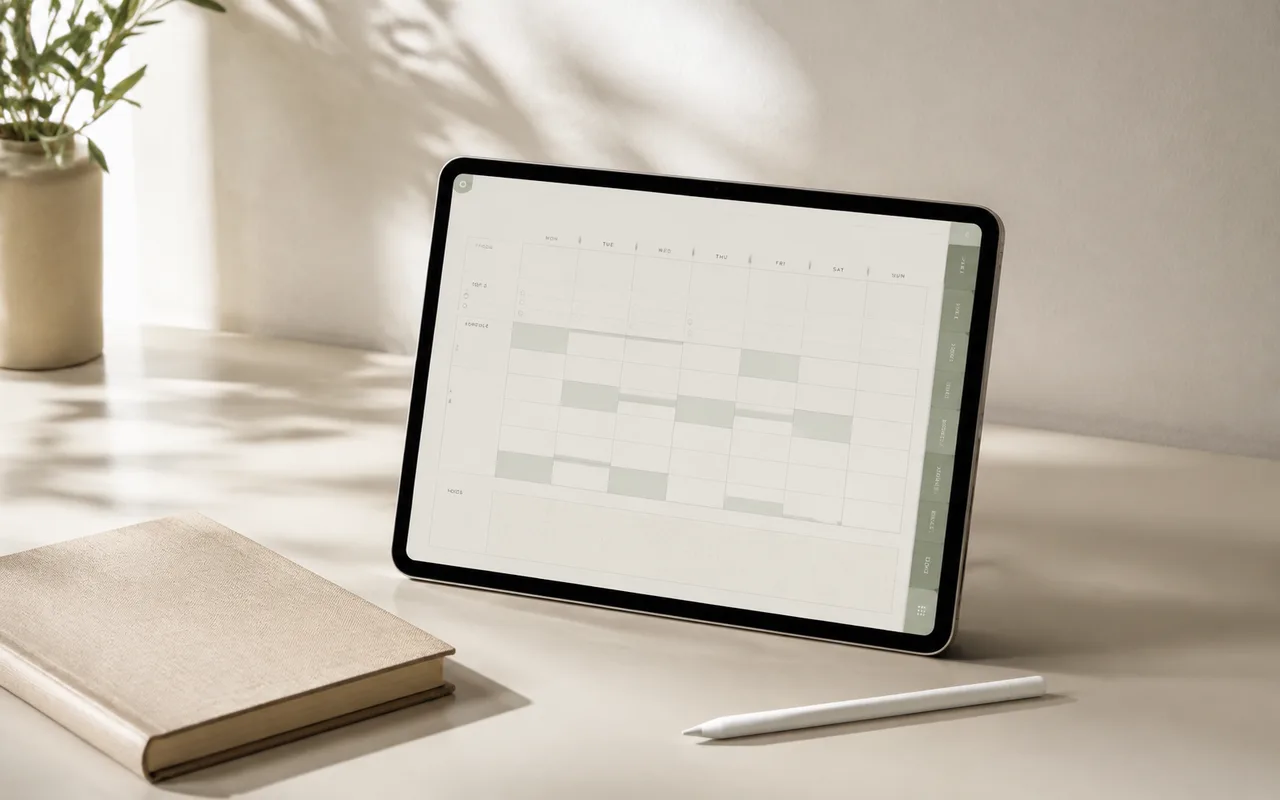
Uma das maiores vantagens de um planejador digital em relação ao papel é a capacidade de tocar em uma aba de mês ou data e saltar diretamente para a página correspondente. Esses saltos são possibilitados por hiperlinks incorporados no PDF.
Muitos aplicativos de anotações separam a navegação da escrita para que um link não abra enquanto você tenta anotar a página.
- Alternar modos: procure pelo ícone somente leitura ou de navegação. O Goodnotes pode mostrar uma caneta riscada ou um olho sobre um documento, o Notability usa um ícone de mão apontando, e outros aplicativos podem usar um olho. Toque nele para ocultar ou bloquear a barra de ferramentas de escrita, seguir um link e depois volte para o modo de edição.
- Forçar a abertura de um link: em alguns aplicativos, selecionar o laço ou pressionar e segurar uma área vinculada abre uma ação "Abrir Link" sem exigir que você alterne os modos primeiro.
Step 4
Gerenciar páginas e navegação
A visualização em miniatura oferece uma visão geral do planner inteiro. Seu ícone geralmente é composto por quatro quadrados pequenos e fica próximo ao canto superior esquerdo ou superior direito do aplicativo.
- Abra a visualização em miniaturas para examinar todas as páginas do planejador de uma só vez.
- Adicione páginas duplicando o modelo atual ou inserindo a mesma página após ele. Isso mantém o sistema visual consistente e tem menos probabilidade de perturbar a estrutura de hiperlink original.
- Exclua páginas indesejadas na visualização de miniaturas, mas verifique antes de remover uma página original com hiperlinks, pois alguns saltos podem parar de funcionar.
- Pressione e segure uma miniatura para reordenar as páginas. Mover páginas normalmente não altera para onde os hiperlinks integrados direcionam.
Step 5
Sincronize e arquive seu trabalho
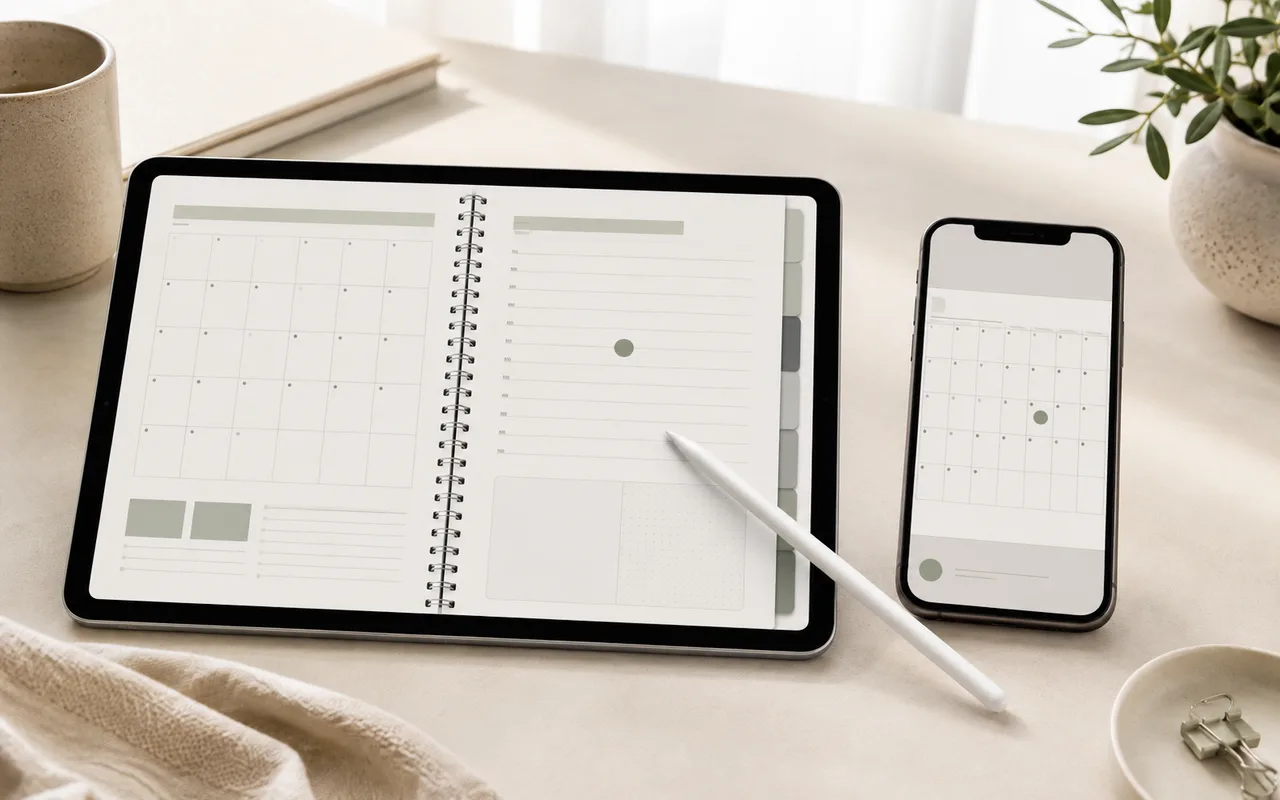
Se você usar o planejador em vários dispositivos, ative o backup automático ou a sincronização em nuvem do seu aplicativo. Muitos aplicativos da Apple suportam iCloud, para que você possa planejar em um iPad e receber lembretes de calendário em um iPhone.
Não confie apenas na sincronização em nuvem. As anotações ainda podem ser perdidas durante a sincronização, então exporte uma cópia manual para o armazenamento local ou outro local seguro em uma programação regular.
O planejamento digital mantém o calor da escrita à mão enquanto adiciona a velocidade e a liberdade de um sistema digital. Depois que você entender importação, escrita, navegação, gerenciamento de páginas e arquivamento, poderá usar com confiança quase qualquer planejador digital.
Antes de terminar