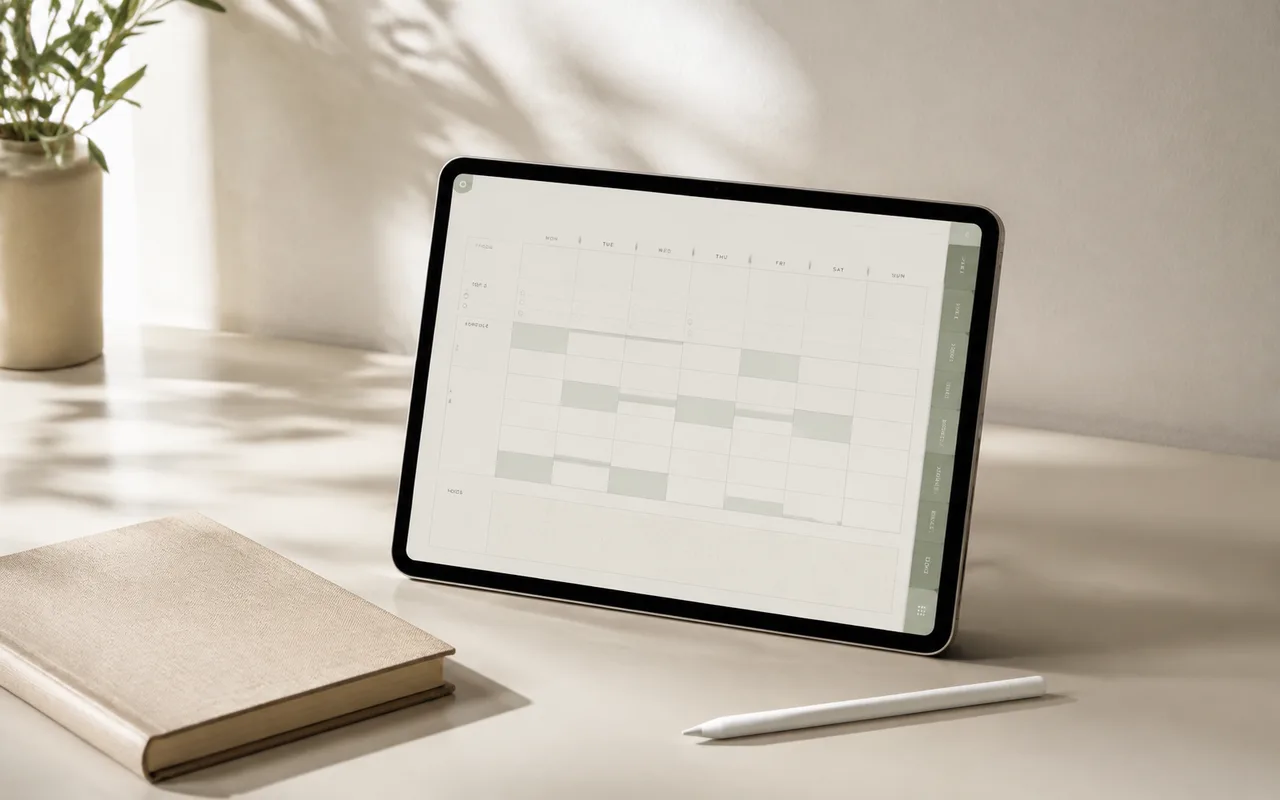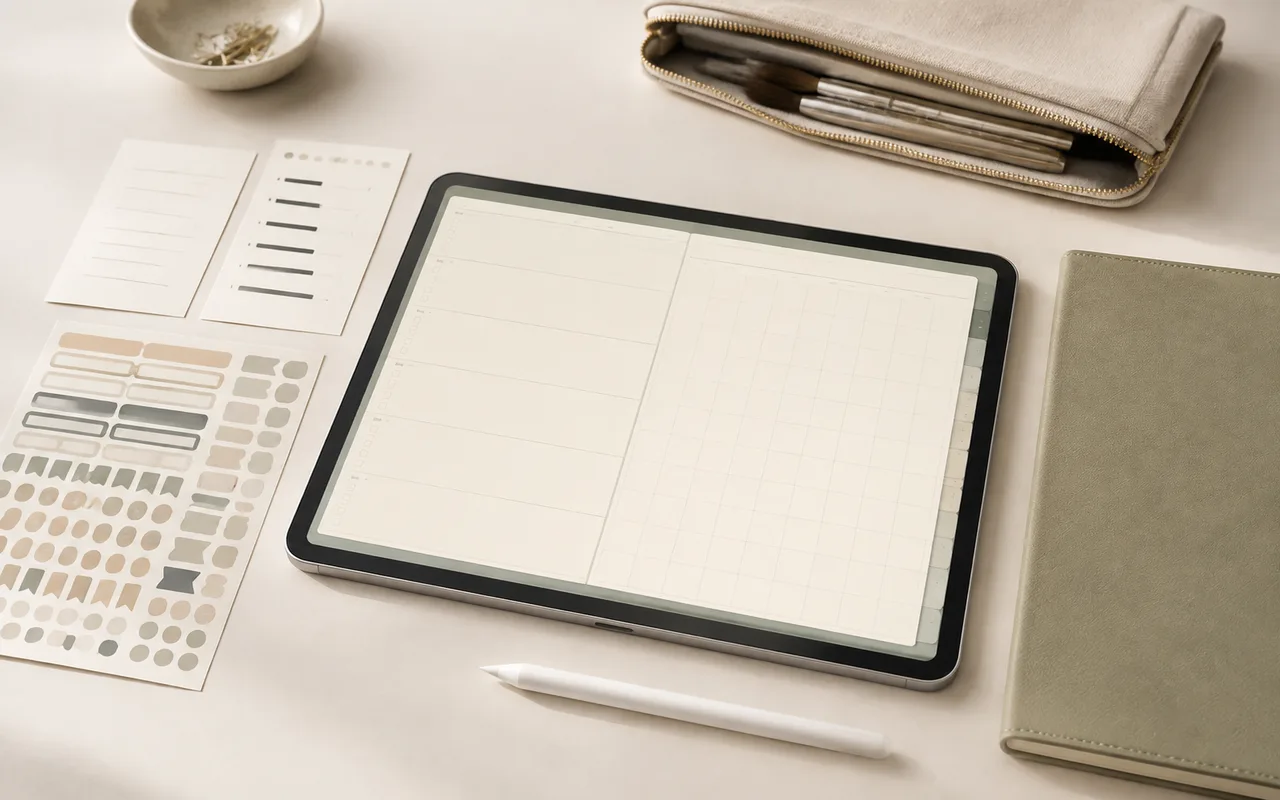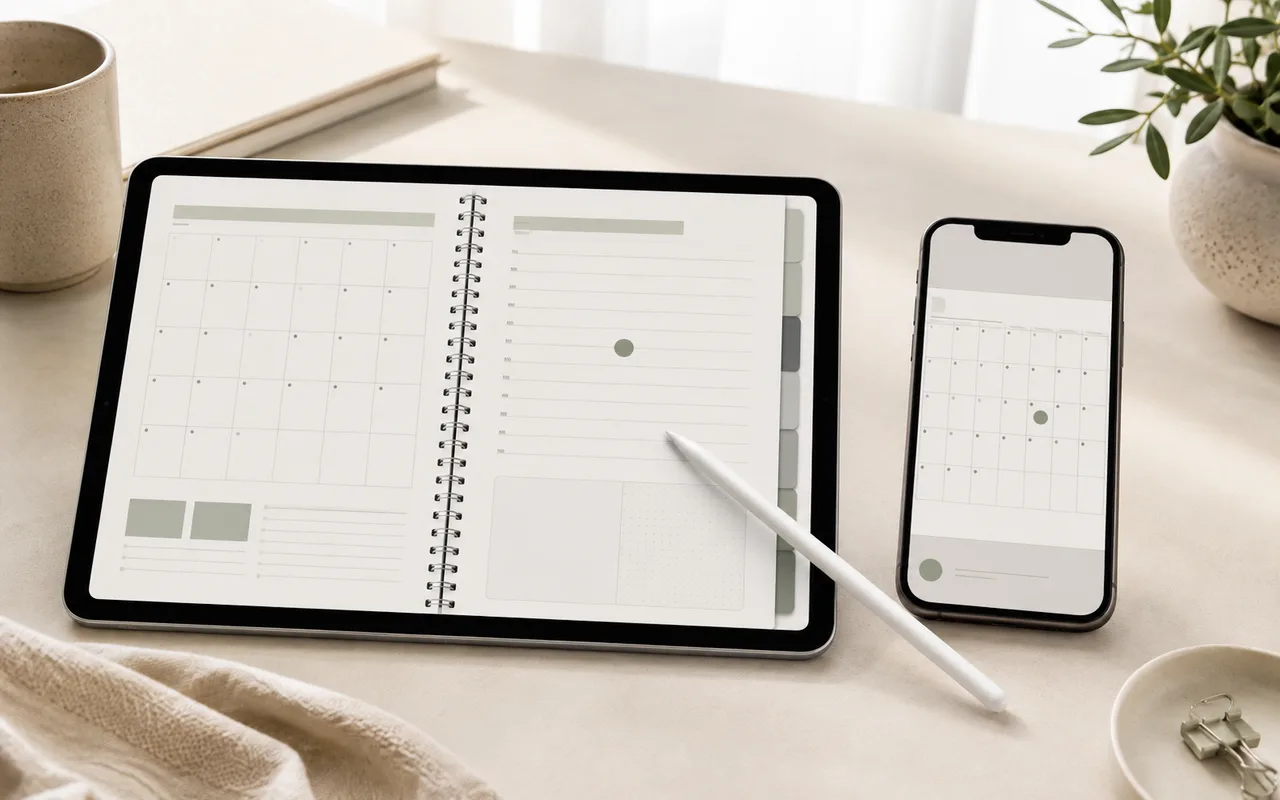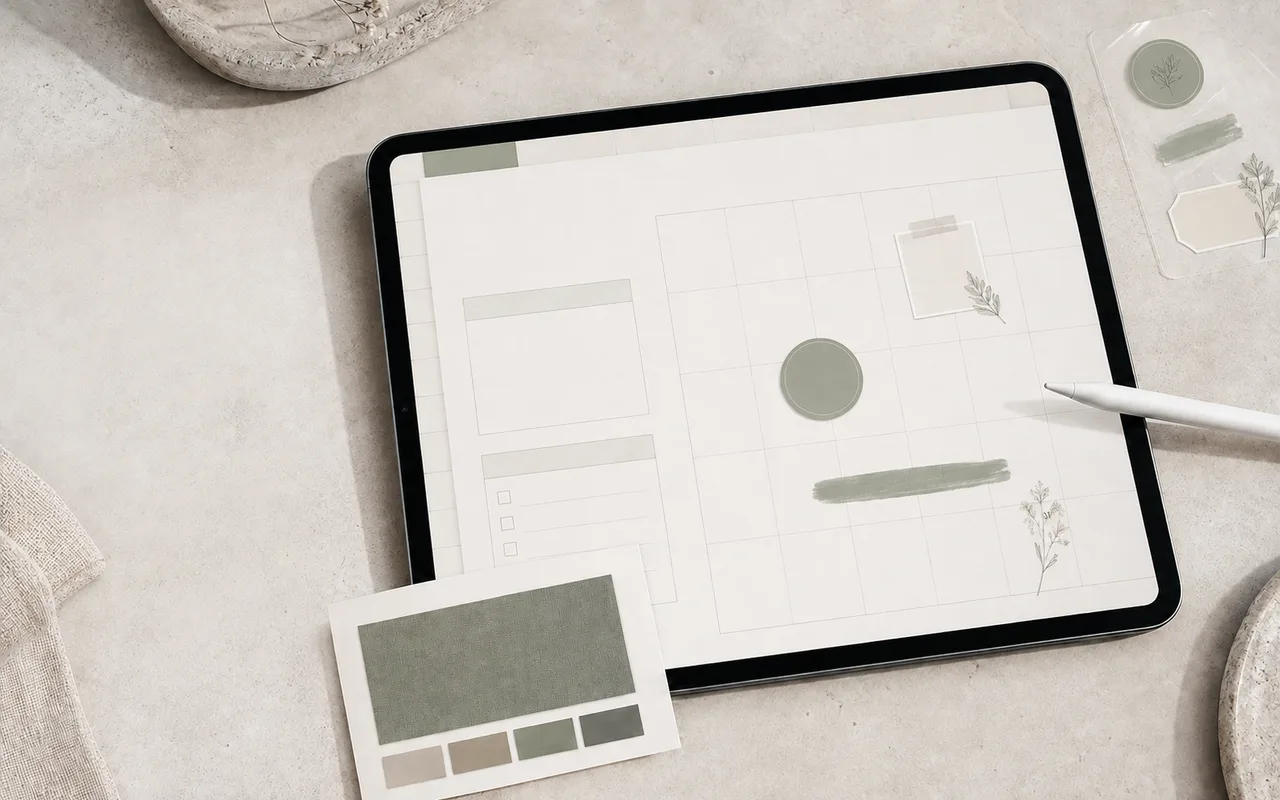
Os produtos de planejador chegam como arquivos completos e prontos para uso. Após baixar um, você pode fazer uma cópia de trabalho pessoal no Goodnotes, Notability ou outro aplicativo compatível, sem alterar o arquivo original.
Step 1
Mantenha um original limpo
Importe o planner para o seu aplicativo de anotações preferido e duplique-o antes de escrever. Mantenha uma cópia intacta nos downloads da sua conta para que você possa sempre começar de novo.
Step 2
Configure as páginas que você mais usa
Use o gerenciador de páginas do seu aplicativo para duplicar páginas reutilizáveis de notas, projetos ou revisões dentro da sua cópia de trabalho. Mantenha as páginas de navegação datadas e vinculadas na ordem original para que seus links permaneçam confiáveis.
Step 3
Adicionar capas e adesivos
Importe uma capa compatível como uma nova página e, em seguida, mova-a para o início da sua cópia de trabalho.
Adicione adesivos PNG transparentes com a ferramenta de imagem ou elementos do seu aplicativo. Redimensione-os na página e salve peças usadas com frequência na coleção reutilizável do aplicativo, quando houver suporte.
- Use arquivos PNG para adesivos para que as bordas transparentes permaneçam limpas.
- Evite excluir páginas vinculadas de índice, mês ou semana, a menos que tenha certeza de que não precisa mais da navegação delas.
- Teste uma página duplicada e um adesivo antes de organizar o arquivo inteiro.
Step 4
Salve e faça backup da sua cópia de trabalho
- Renomeie a cópia de trabalho para que seja fácil distingui-la do original intacto.
- Deixe seu aplicativo de anotações terminar de sincronizar antes de fechar ou trocar de dispositivo.
- Exporte um backup periodicamente se o planner contiver notas que você não possa substituir.
Antes de terminar