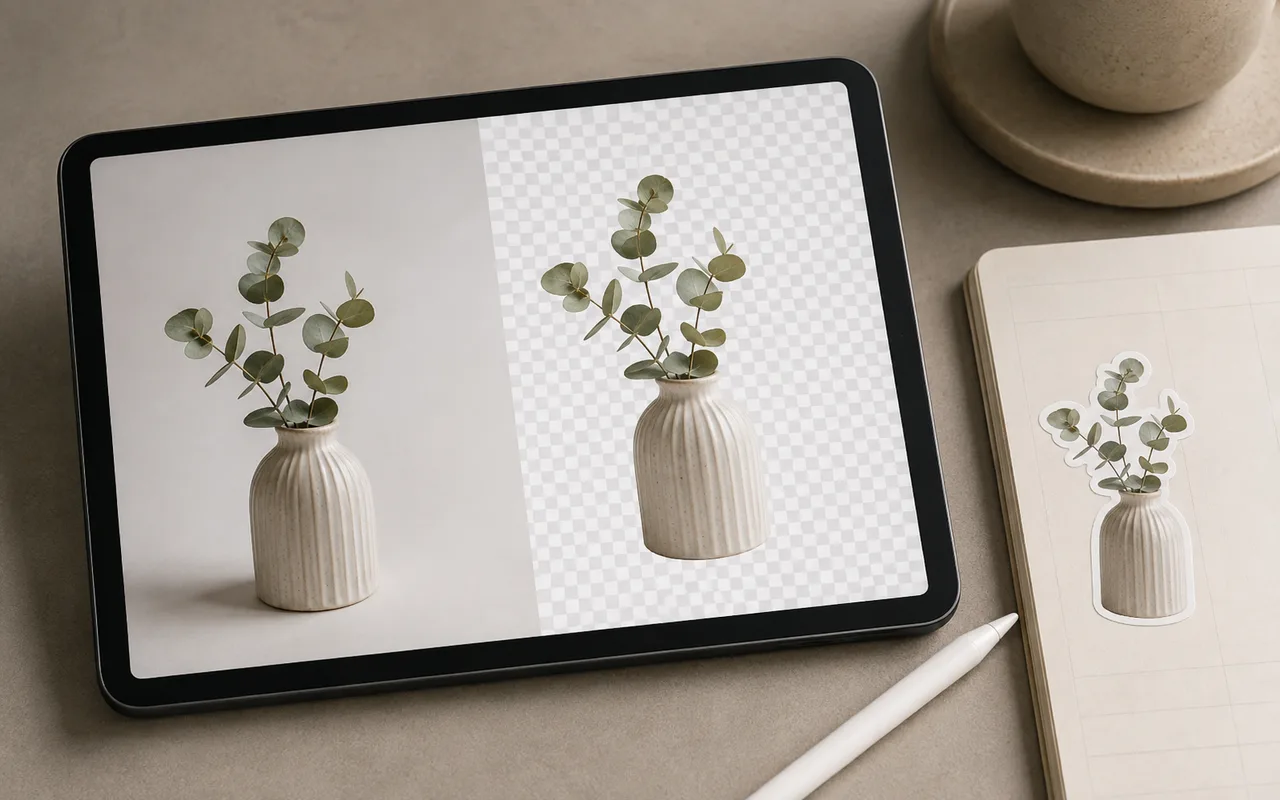
A ação Magic Cutout na página de detalhes de um adesivo pode remover um fundo indesejado com um toque. Ela usa o recurso de recorte de assunto da Apple e, em seguida, coloca o resultado na área de transferência, pronto para colar em um planejador digital.
Step 1
Verifique os requisitos
O Magic Cutout usa o recurso de remoção de fundo integrado ao iOS 16 e versões posteriores. Portanto, ele funciona apenas em dispositivos Apple compatíveis e exige que o Atalho do Planner seja instalado primeiro.
Step 2
Criar e colar um recorte
- Instale o Atalho do Planejador e conclua sua configuração inicial.
- Escolha o adesivo ou a imagem que deseja recortar e copie-o para a área de transferência.
- Abra a página de detalhes do adesivo correspondente no Planner.
- Selecione Recorte Mágico e aguarde o atalho para remover o fundo.
- Quando o iPad informar que o recorte foi bem-sucedido, volte para a página do planejador e cole o resultado.
Step 3
Escolha imagens que sejam recortadas com precisão
Fotos nítidas com uma pessoa ou assunto distinto geralmente produzem o melhor resultado.
O recorte integrado do iOS pode ter dificuldades com GIFs, muitos ativos pequenos combinados em uma única imagem, letras dispersas, fragmentos decorativos ou um objeto que se mistura ao fundo. Nesses casos, ele pode retornar um resultado aproximado ou nenhum resultado.
- Melhor: uma foto retrato clara ou foto de produto com um sujeito óbvio.
- Evite: imagens preenchidas com pequenos elementos decorativos.
- Evite: palavras ou letras separadas espalhadas pela imagem.
- Evite: assuntos de baixo contraste que se misturam ao fundo.
- Evite: folhas de adesivos que combinam muitas imagens pequenas em um único arquivo.
Antes de terminar